Shop
Universe
The Dark Quarter
Chronicles of Crime
Kingdom Rush
Andromeda's Edge
Tranquility
Unconscious Mind
Flamecraft
About
Join the Lucky Duck Newsletter
Food Chain Magnate
search
EN
Sign in
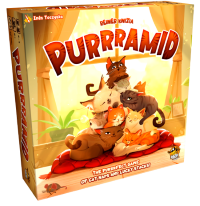
Purrramid - Base game + Promo Pack!
More details
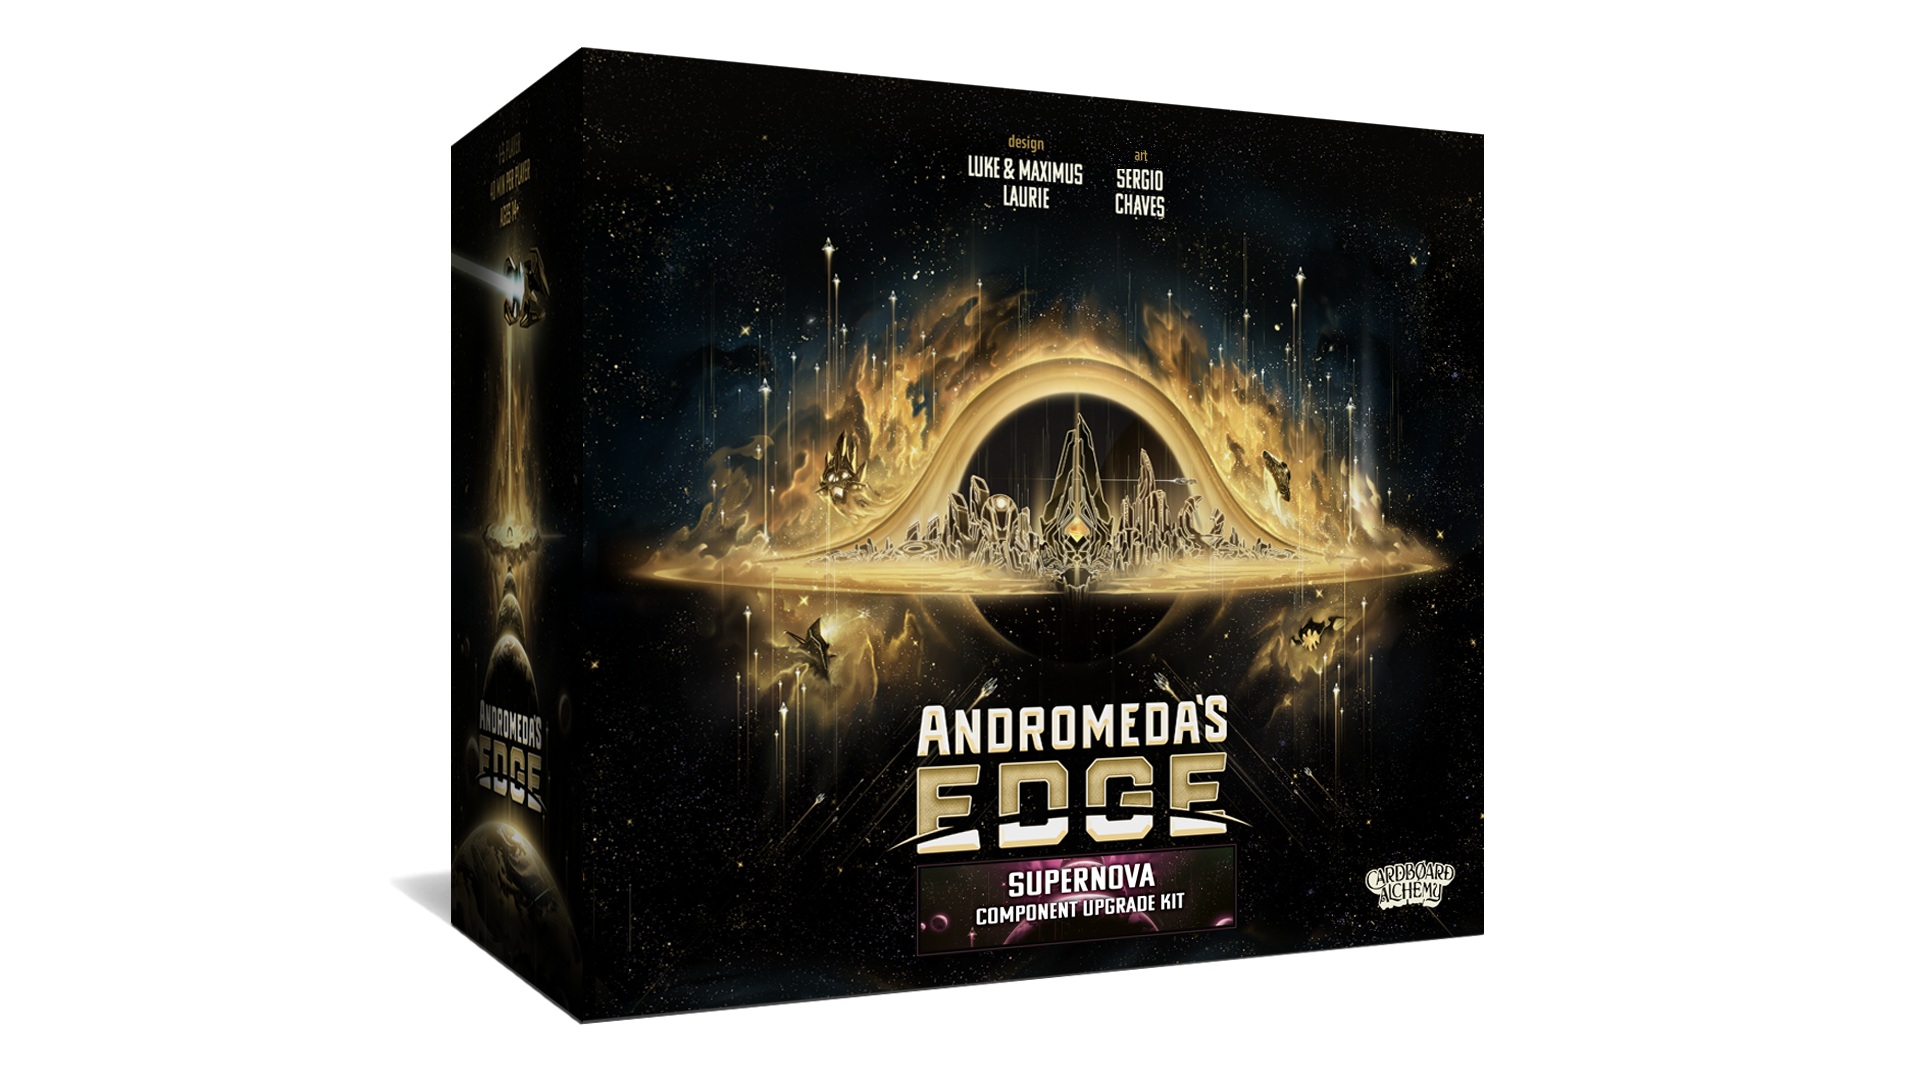
Andromeda's Edge - Supernova Component Upgrade Kit
More details
Critter Kitchen
More details
We're Sinking preorder
More details
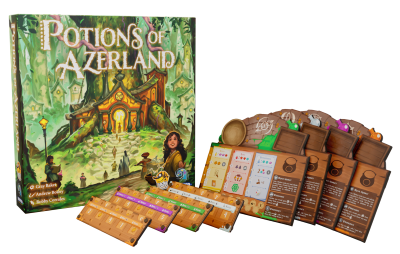
Potions of Azerland
More details
Home
Popular Products
Chronicles of Crime
Flamecraft
Cosmoctopus
Senjutsu: Battle For Japan
Tranquility: The Ascent
Captain Obvious
Toriki: The Castaway Island
Andromeda's Edge - Exotic Matter
Nestlings
My Shelfie: The Dice Game
Backstories: Alone Under The Ice
We're Sinking Swords & Souls expansion
Backstories: The Emerald Wedding Anniversary
Kingdom Rush - Dark Elf Slayer Expansion
Flamecraft: Metal Coins - Series 2
Potions of Azerland
Temple Code
We're Sinking: A Pirate's Dilemma
Borealis: Arctic Expeditions
Critter Kitchen - à la cart expansion
Critter Kitchen
Andromeda's Edge - Supernova Component Upgrade Kit
Andromeda's Edge - Escalation
Andromeda's Edge
check_circle
check_circle

.png)